
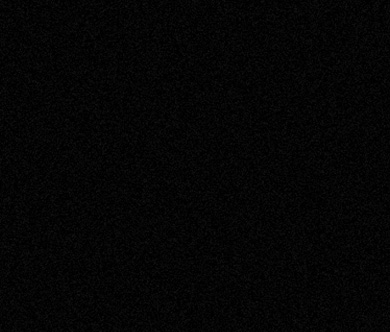
Let’s begin working by creating a new file (File>New) with 768x1024 px and 72 dpi. Next select thePaint Bucket Tool (G) to make the new layer of black color.

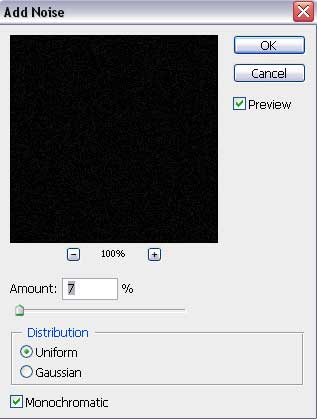
Apply for the background’s layer this option: Filter>Noise>Add Noise
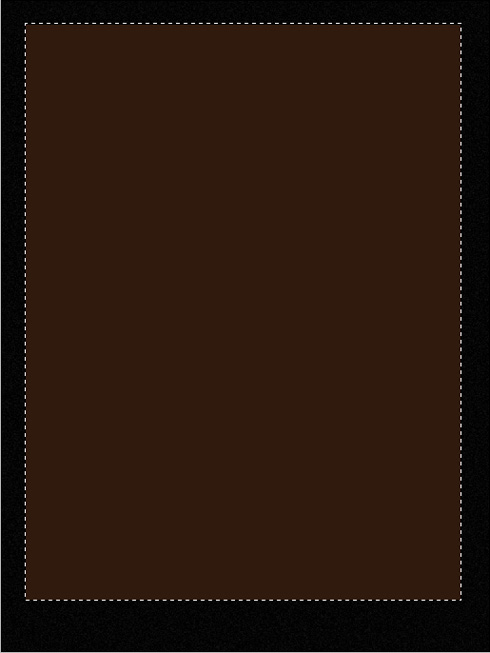
On a new layer (Create new layer) we’ll select the Rectangular Marquee Tool (M) to mark out the necessary zone on the picture, reserved for working with it. After that we’ll apply the Paint Bucket Tool (G) to paint this zone with the next color - #301A0D
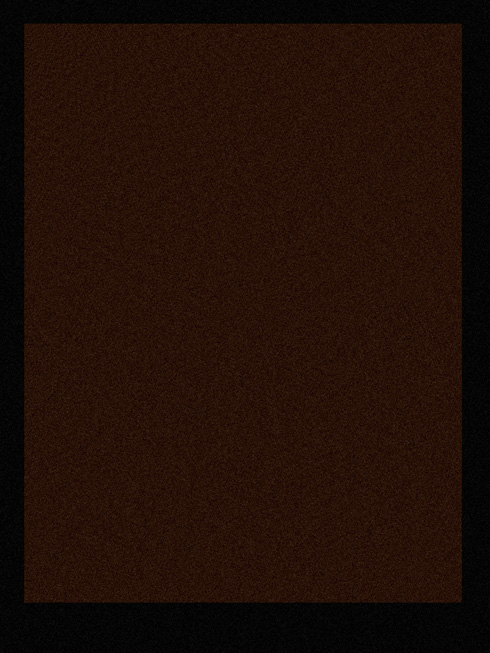
Select for the last layer the same filter used on the black background, choosing the same parameters too:
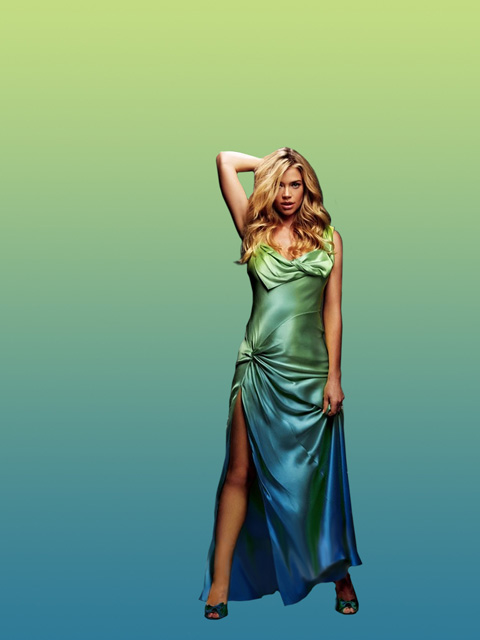
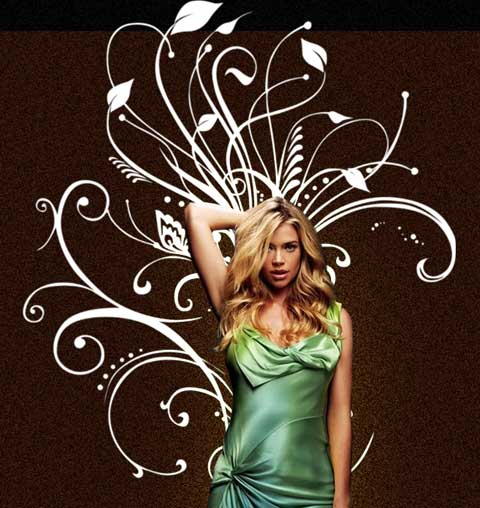
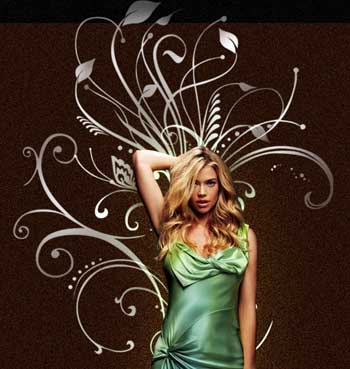
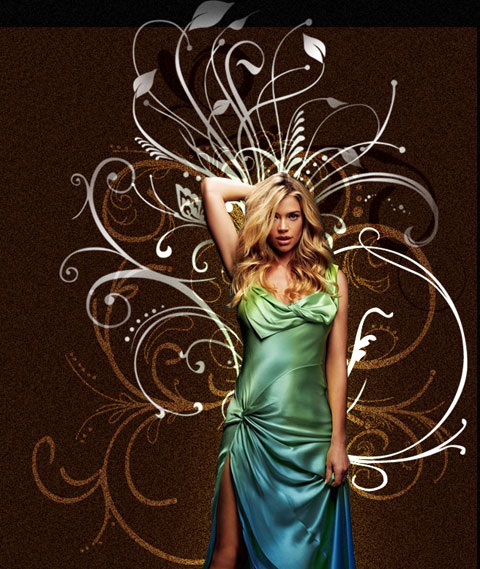
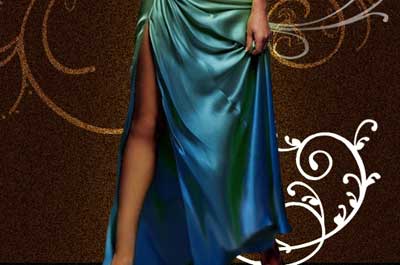
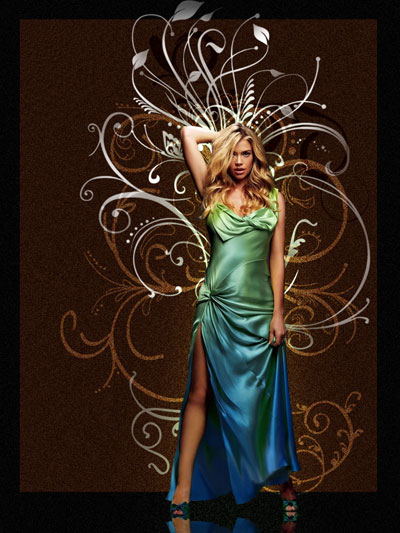
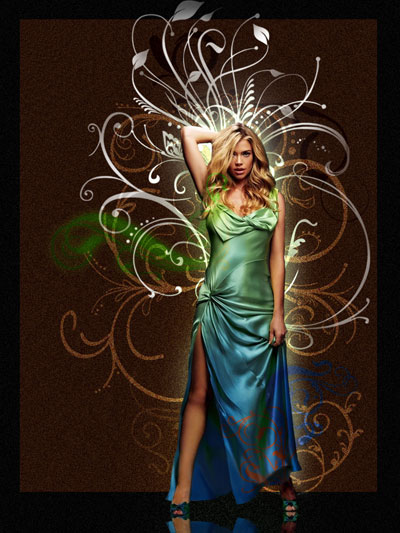
Now we have to find in Internet a photo of a girl, like the next one:
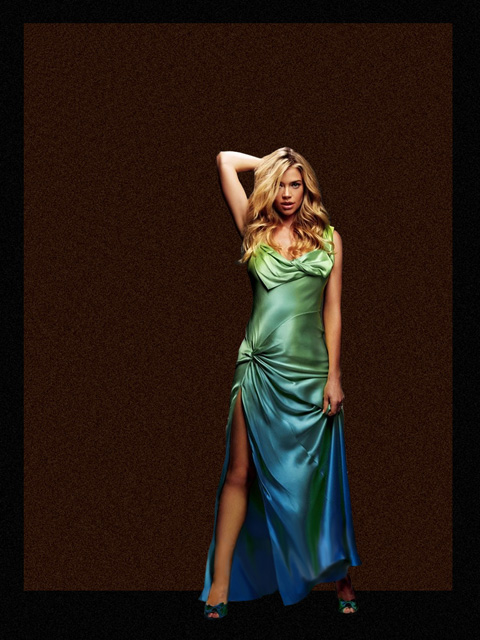
Cit it out and insert it on our picture:
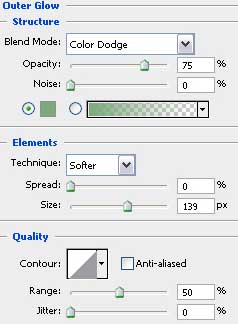
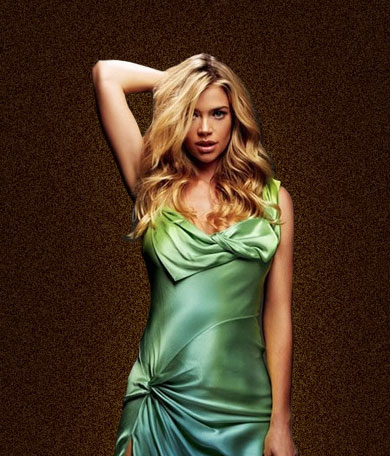
Select the next demonstrated parameters for the girl’s layer: Blending Options>Outer Glow
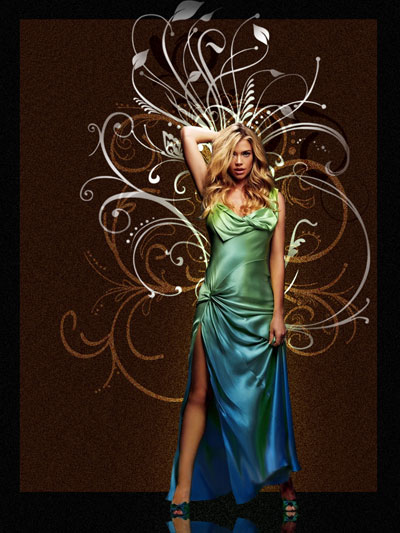
Next we’ll try to draw the girl’s shadow - reflection. This operation needs copying the girl’s layer and choosing Free Transform selection for turning around the copy, placing her reflection under her legs.

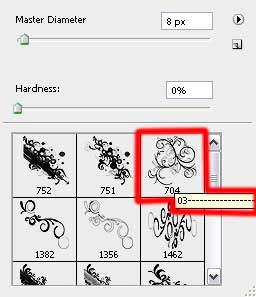
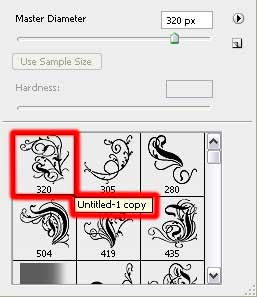
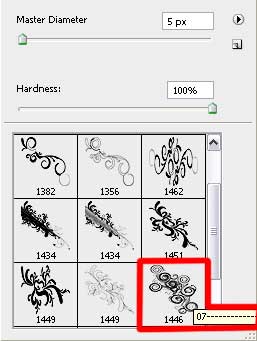
Now we have to download out of Internet a several sets of ready to use brushes in Adobe Photoshop, named Floral, BRUSHES_01_02, Brushes - curls
Attention! If you see an ornament on the picture made with the brush and it is turned over, it means that this brush is applied on a separate layer and turned over with Free Transform selection.
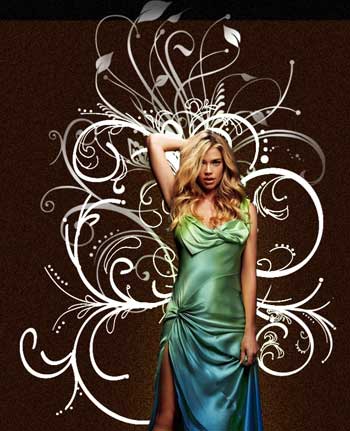
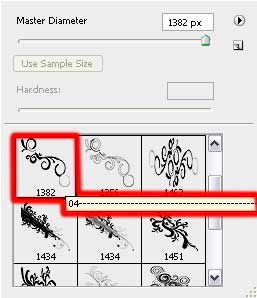
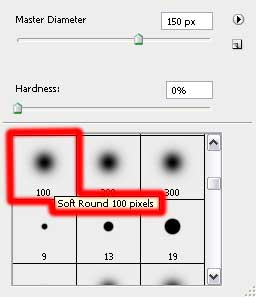
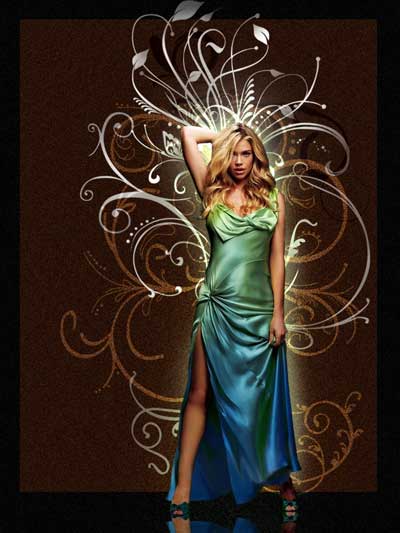
Next create a new layer (Create new layer) and choose the Brush Tool (B)out of the set Floral. The brush’s color is white and its layer should be placed on the layers’ panel lower than the girl’s layer.
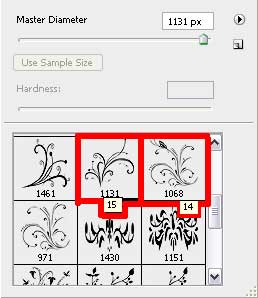
Make a mouse click on the last layer on Add a Mask option that may be found on the lowest part of the layers’ panel. Select the Brush Tool (B) of black color and Opacity of 10% to clean out easily and attentively the brushes’ ornament.
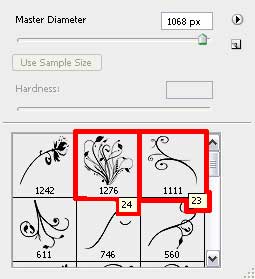
Create a new layer again and select this time the brushes out of this set:BRUSHES_01_02. Select also the white color for the brushes and situate this layer on the layers’ panel also lower than the girl’s layer.
Select the next indicated parameters for the brush’s layer: Blending mode-Soft Light
Create one more new layer (Create new layer) where we’ll use the brush out of the earlier mentioned set: (BRUSHES_01_02) But this time we must select this color for the brush #747474. This layer should be positioned the same way the previous are.
The layer’s parameters: Blending mode-Vivid Light
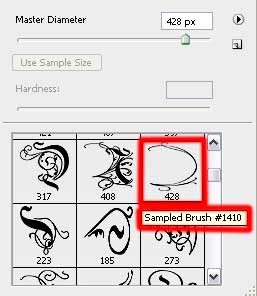
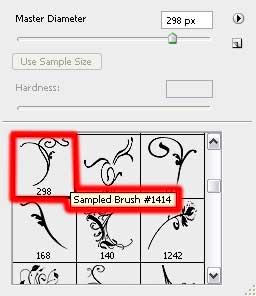
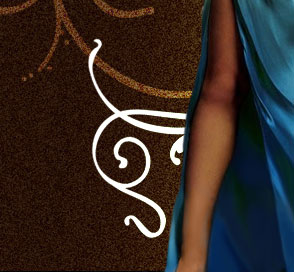
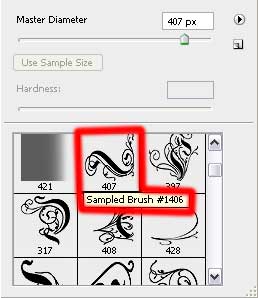
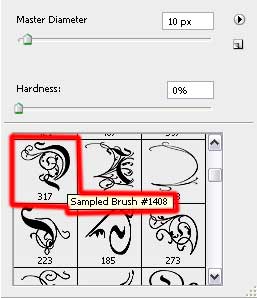
Now it’s time to create one more new layer for using on it the sampled Brushes – curls of white color. The new layer should be placed the same way with the rest of the layers – lower than the girl’s layer (on the layers’ panel).
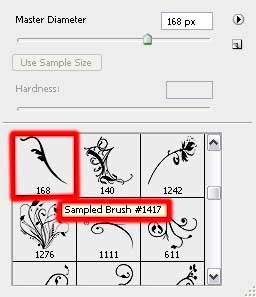
Make a mouse click on the same layer on Add a Mask option that may be found as you already know on the lowest part of the layers’ panel. Choose quickly the Brush Tool (B) of black color and Opacity of 10% to clean out smoothly the brushes’ ornaments.
Create another new layer (Create new layer) for applying on it the Brushes – curls of white color, placing the new layer lower than the girl’s layer on the layers’ panel.
The layer’s parameters: Blending mode-Soft Light
On the next new layer we’ll apply the brushes out of the same set used earlier. Their color is white too. The new layer should be positioned the same way as the previous layers were placed out.
The layer’s parameters: Fill 30%
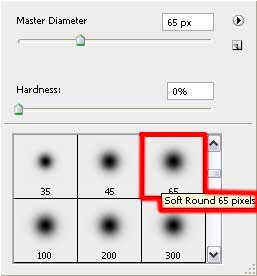
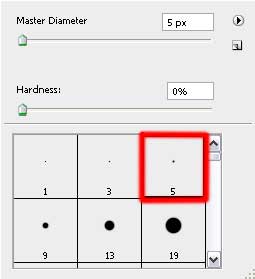
On the next stage we have to draw a kind of light around the girl. Create a new layer for this operation and apply on it the Brush Tool (B) of white color andOpacity of 10%. It’s necessary to situate this layer on the layers’ panel lower than the girl’s layer too.
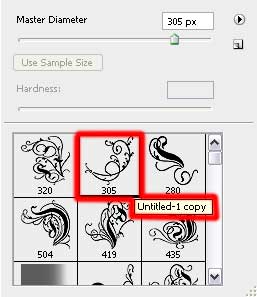
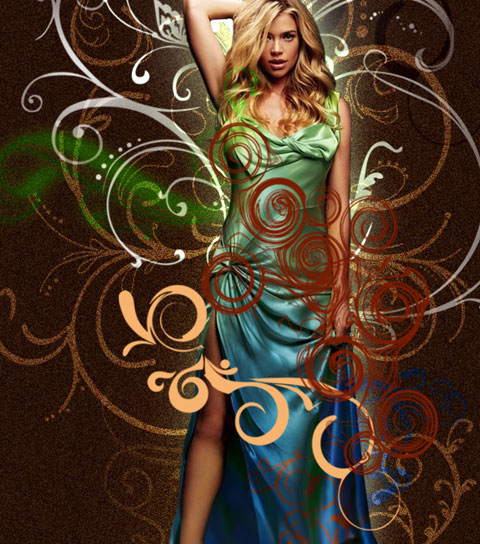
Next create another new layer (Create new layer) and use again the Brushes – curls.
the color of the brush is #6F3C27
the color of the brush is #97BD58
the color of the brush is #0A224A
Select these parameters from below for the last made layer: Blending mode-Hue

Create once again a new layer (Create new layer) where we have to use theBrush Tool (B) and Opacity of 10% with the colors used before for the previous brushes to give more volume to the luminescence around the girl.

The layer’s parameters: Fill 50%
Blending mode-Hard Light
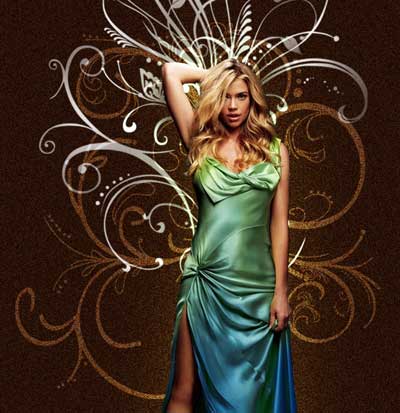
On the next new layer we’ll select again the brushes out of the setBRUSHES_01_02

the brush’s color: #F6B36F
the brush’s color: #781A01
The layer’s parameters: Blending mode-Soft Light
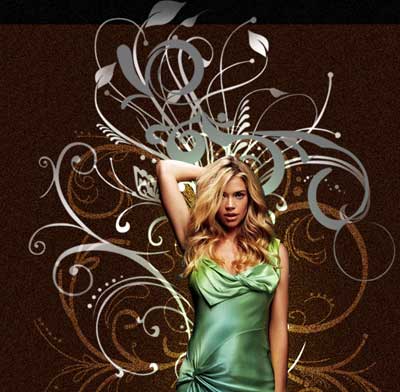
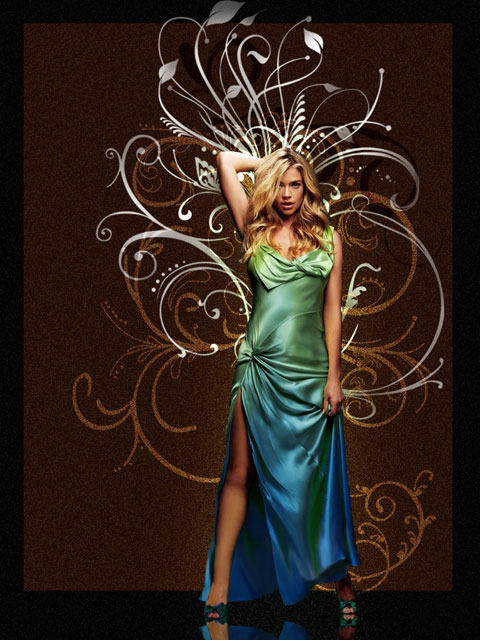
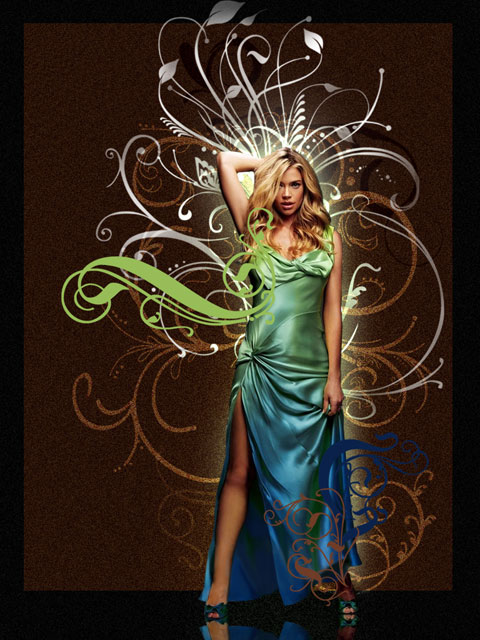
Finished!
No comments:
Post a Comment